Do you want to install Oracle Database 19c on Rocky Linux 8 (or Oracle Linux 8), create scripts to start the server automatically, create tnsnames.ora and listener.ora, create a user and connect to the server from SQL Developer… all in 15 minutes? Let’s start then!
I learned how to install the Oracle Database using tutorials from ORACLE-BASE.com. Below are my steps* to install the Oracle Database but I would highly suggest reading the ORACLE-BASE.com article on the same topic which provides details that I do not provide in this article (like the automatic setup using oracle-database-preinstall-19c, firewall setup, silent install and others). You need to check that website anyway as it’s a great source information regarding Oracle Database.
*) My steps have been influenced, of course, by the great articles on ORACLE-BASE.com.
Steps 1 to 6 can be done from a PuTTY terminal. After that you will need to login on the graphical interface.
1. Setup the hostname
Before you begin installing, you should make sure yor hostname is set correctly. My server will be called amadeus but you can call yours anyway you want :). If you already setup your hostname, you can skip this part.
Let’s edit /etc/hosts:
sudo vi /etc/hostsAnd change it to:
127.0.0.1   localhost localhost.localdomain localhost4 localhost4.localdomain4
192.168.56.230  amadeus.localdomain  amadeus
Of course 192.168.56.230 is my IP, not yours. Make sure to change the file according to your needs…
And now let’s edit /etc/hostname:
sudo vi /etc/hostnameAnd change it to:
amadeus.localdomain2. Create configuration files
Create /etc/sysctl.d/98-oracle.conf
sudo vi /etc/sysctl.d/98-oracle.confAnd put the following content in it:
fs.file-max = 6815744
kernel.sem = 250 32000 100 128
kernel.shmmni = 4096
kernel.shmall = 1073741824
kernel.shmmax = 4398046511104
kernel.panic_on_oops = 1
net.core.rmem_default = 262144
net.core.rmem_max = 4194304
net.core.wmem_default = 262144
net.core.wmem_max = 1048576
net.ipv4.conf.all.rp_filter = 2
net.ipv4.conf.default.rp_filter = 2
fs.aio-max-nr = 1048576
net.ipv4.ip_local_port_range = 9000 65500
And /etc/security/limits.d/oracle-database-preinstall-19c.conf
sudo vi /etc/security/limits.d/oracle-database-preinstall-19c.confAnd here is the content for this one:
oracle   soft   nofile    1024
oracle   hard   nofile    65536
oracle   soft   nproc    16384
oracle   hard   nproc    16384
oracle   soft   stack    10240
oracle   hard   stack    32768
oracle   hard   memlock    134217728
oracle   soft   memlock    134217728
This files could be created automatically if you would use the automcatic setup which I don’t like so I am not going into more details about it. If you want to learn more about it search for “oracle-database-preinstall-19c”
3. Install prerequisite software
Here is a long list of software you need to install. Most of them are already installed so it will be very fast. This list ensures that the process works on both Rocky Linux and Oracle Linux.
sudo dnf install -y bc
sudo dnf install -y binutils
sudo dnf install -y compat-libcap1
sudo dnf install -y compat-libstdc++-33
sudo dnf install -y dtrace-modules
sudo dnf install -y dtrace-modules-headers
sudo dnf install -y dtrace-modules-provider-headers
sudo dnf install -y dtrace-utils
sudo dnf install -y elfutils-libelf
sudo dnf install -y elfutils-libelf-devel
sudo dnf install -y fontconfig-devel
sudo dnf install -y glibc
sudo dnf install -y glibc-devel
sudo dnf install -y ksh
sudo dnf install -y libaio
sudo dnf install -y libaio-devel
sudo dnf install -y libdtrace-ctf-devel
sudo dnf install -y libXrender
sudo dnf install -y libXrender-devel
sudo dnf install -y libX11
sudo dnf install -y libXau
sudo dnf install -y libXi
sudo dnf install -y libXtst
sudo dnf install -y libgcc
sudo dnf install -y librdmacm-devel
sudo dnf install -y libstdc++
sudo dnf install -y libstdc++-devel
sudo dnf install -y libxcb
sudo dnf install -y make
sudo dnf install -y net-tools # Clusterware
sudo dnf install -y nfs-utils # ACFS
sudo dnf install -y python # ACFS
sudo dnf install -y python-configshell # ACFS
sudo dnf install -y python-rtslib # ACFS
sudo dnf install -y python-six # ACFS
sudo dnf install -y targetcli # ACFS
sudo dnf install -y smartmontools
sudo dnf install -y sysstat
sudo dnf install -y unixODBC
sudo dnf install -y libnsl
sudo dnf install -y libnsl.i686
sudo dnf install -y libnsl2
sudo dnf install -y libnsl2.i686
4. Create the user and groups for the installation
The lines below will create the required groups, the oracle user and will set the password for this user.
sudo groupadd -g 54321 oinstall
sudo groupadd -g 54322 dba
sudo groupadd -g 54323 oper

sudo useradd -u 54321 -g oinstall -G dba,oper oracle

sudo passwd oracle
5. Disable SELinux and firewall
Right… this does not seem like best practices, does it? This tutorial is just for test / development purposes. Never, ever do this in Production!
Edit /etc/selinux/config
sudo vi /etc/selinux/configAnd set SELINUX=permissive.
Now turn off the firewall (and make sure it does not start on boot).
sudo systemctl stop firewalld
sudo systemctl disable firewalld
6. Create directories, config and start/stop scripts
sudo mkdir -p /u01/app/oracle/product/19.0.0/dbhome_1
sudo mkdir -p /u02/oradata
sudo chown -R oracle:oinstall /u01 /u02
sudo chmod -R 775 /u01 /u02
sudo mkdir /home/oracle/scripts
Create the config script:
cat > /home/oracle/scripts/setEnv.sh <<EOF
# Oracle Settings
export TMP=/tmp
export TMPDIR=\$TMP

export ORACLE_HOSTNAME=amadeus.localdomain
export ORACLE_UNQNAME=cdb1
export ORACLE_BASE=/u01/app/oracle
export ORACLE_HOME=\$ORACLE_BASE/product/19.0.0/dbhome_1
export ORA_INVENTORY=/u01/app/oraInventory
export ORACLE_SID=cdb1
export PDB_NAME=pdb1
export DATA_DIR=/u02/oradata

export PATH=/usr/sbin:/usr/local/bin:\$PATH
export PATH=\$ORACLE_HOME/bin:\$PATH

export LD_LIBRARY_PATH=\$ORACLE_HOME/lib:/lib:/usr/lib
export CLASSPATH=\$ORACLE_HOME/jlib:\$ORACLE_HOME/rdbms/jlib
EOF
And now add it to the oracle user’s bash profile.
echo ". /home/oracle/scripts/setEnv.sh" >> /home/oracle/.bash_profileCreate the database start script:
cat > /home/oracle/scripts/start_all.sh <<EOF
#!/bin/bash
. /home/oracle/scripts/setEnv.sh

export ORAENV_ASK=NO
. oraenv
export ORAENV_ASK=YES

dbstart \$ORACLE_HOME
EOF
And the stop script:
cat > /home/oracle/scripts/stop_all.sh <<EOF
#!/bin/bash
. /home/oracle/scripts/setEnv.sh

export ORAENV_ASK=NO
. oraenv
export ORAENV_ASK=YES

dbshut \$ORACLE_HOME
EOF
Set the required permissions for these scripts:
sudo chown -R oracle:oinstall /home/oracle/scripts
sudo chmod u+x /home/oracle/scripts/*.sh
Put the installation archive in the database home and set the right permissions for it
sudo chown -R oracle:oinstall /u01/app/oracle/product/19.0.0/dbhome_1/LINUX.X64_193000_db_home.zipNow it’s time for a restart.
sudo shutdown -r now7. Install the Oracle Database
The time has come for the big moment!
Login as oracle on the graphical interface.
Uninstall the software
cd $ORACLE_HOME
unzip -oq LINUX.X64_193000_db_home.zip
Before running the installer, need to set the distid to OEL7.6
export CV_ASSUME_DISTID=OEL7.6And let’s go!
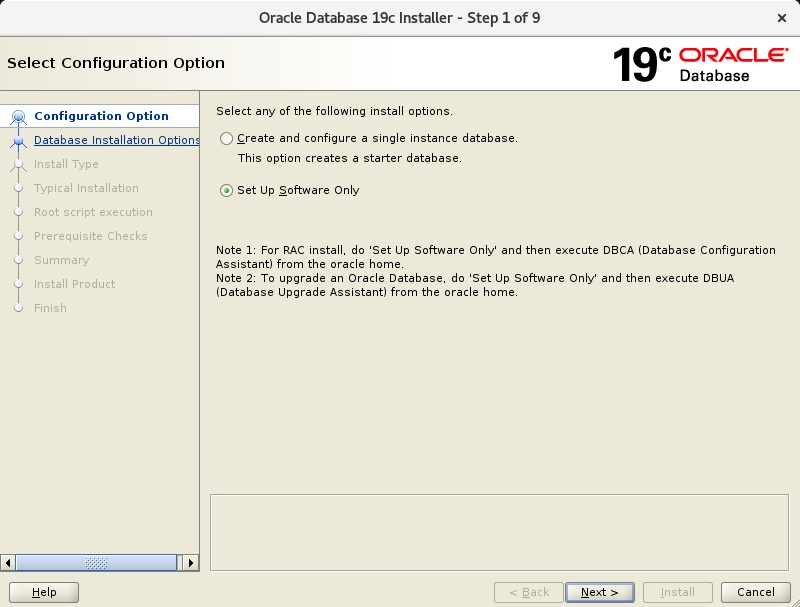
./runInstallerIn the first screen, select “Set Up Software Only”.
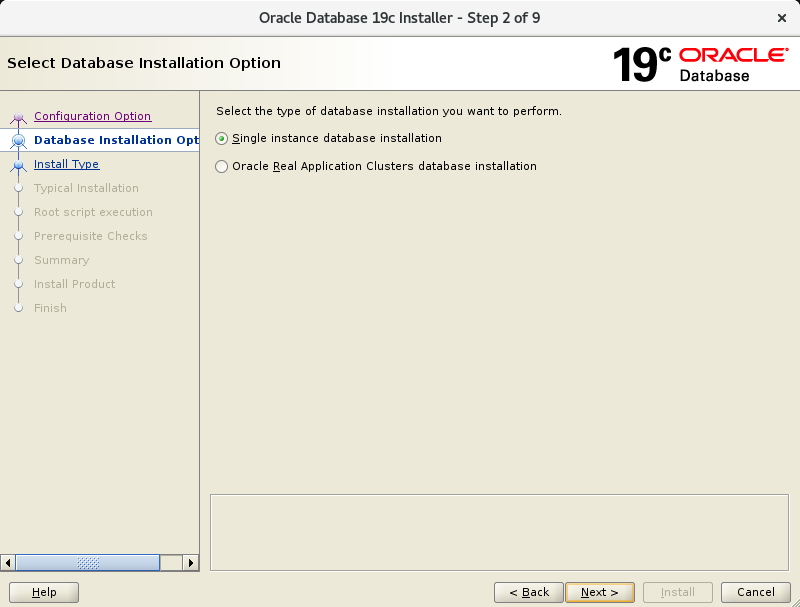
In the second screen, select “Single instance database installation”.
In the third screen, select “Sitandard Edition 2”.

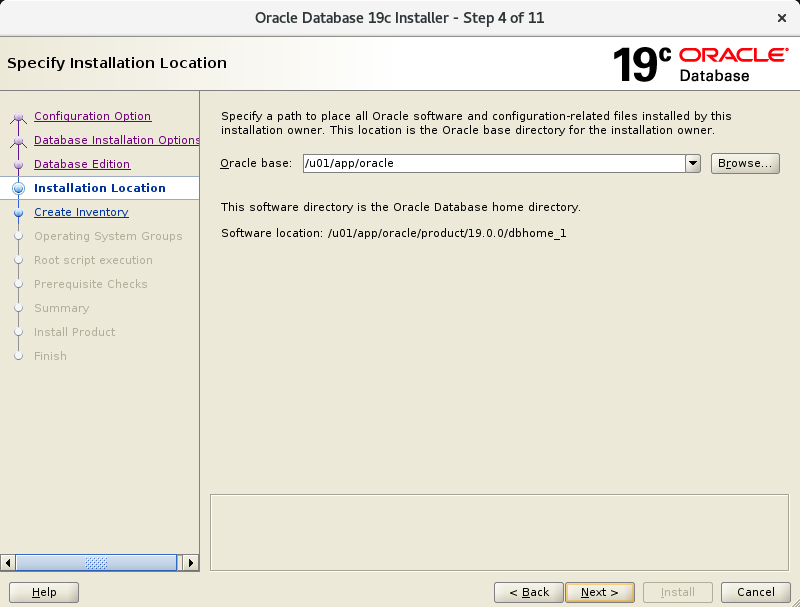
In the fourth screen, make sure the Oracle base is already populated with “/u01/app/oracle”.
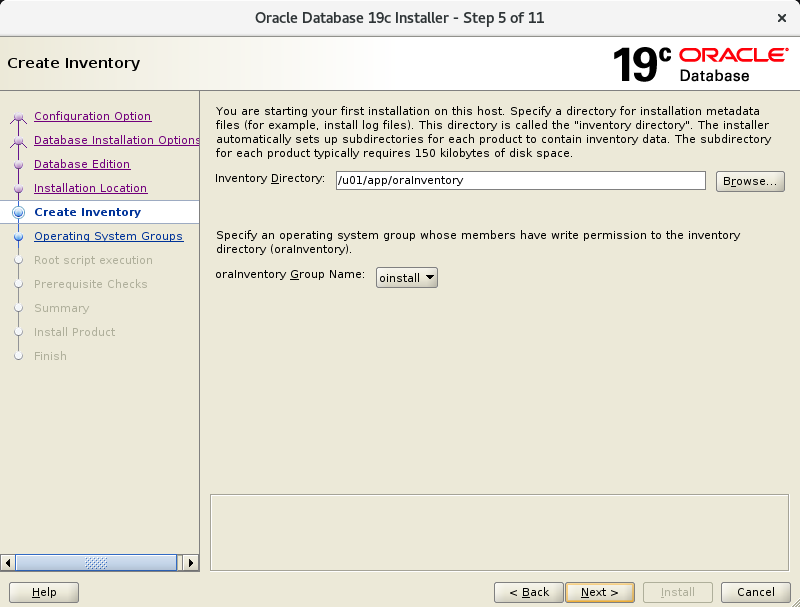
In the fifth screen, make sure the Inventory Directory is already populated with “/u01/app/oraInventory”.
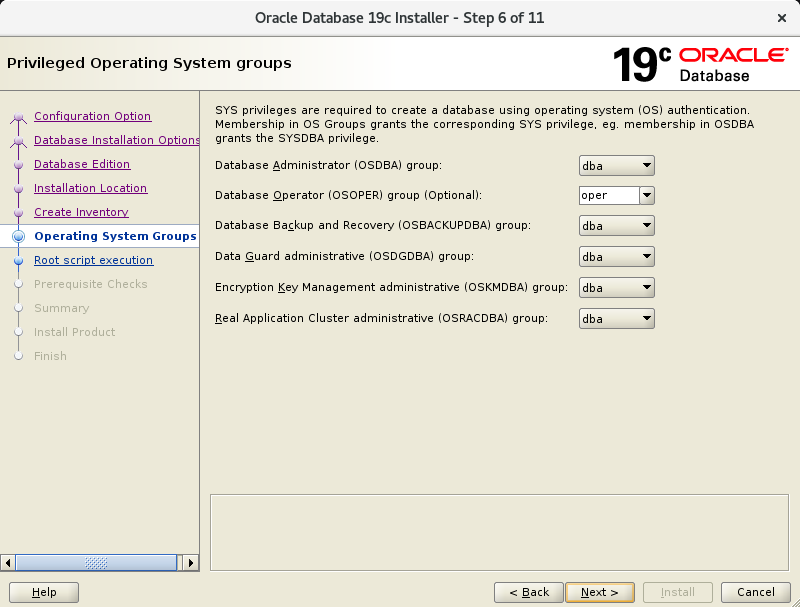
In the sixth screen, verify the groups are poulated as below. They should be 🙂
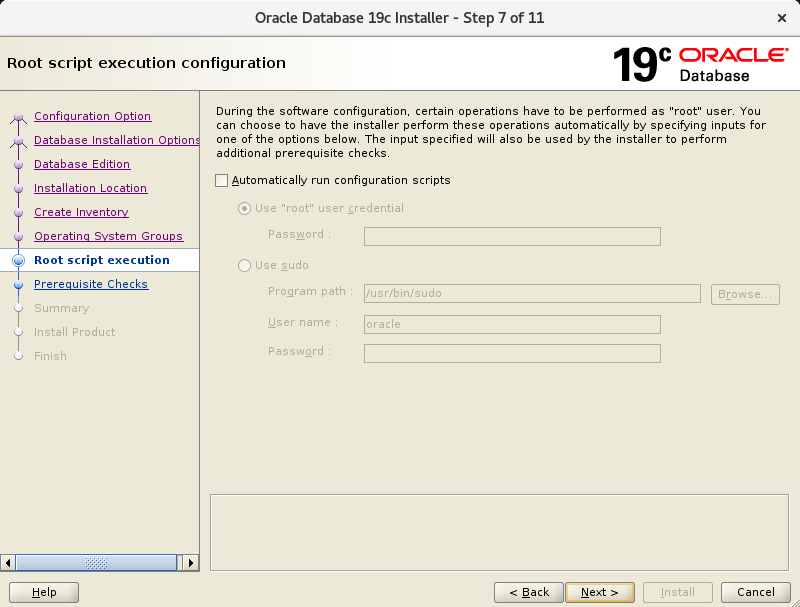
In the seventh screen, just press Next.
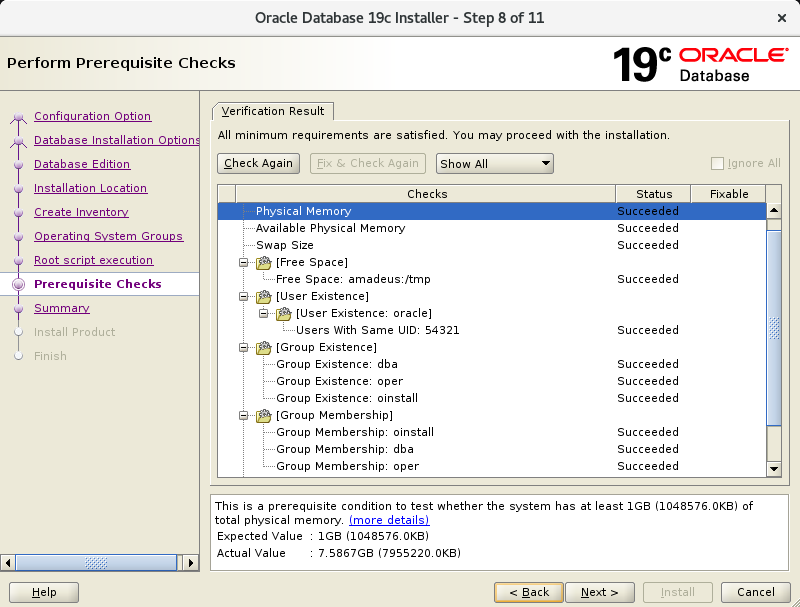
The eigth screen will probably pass by very fast.
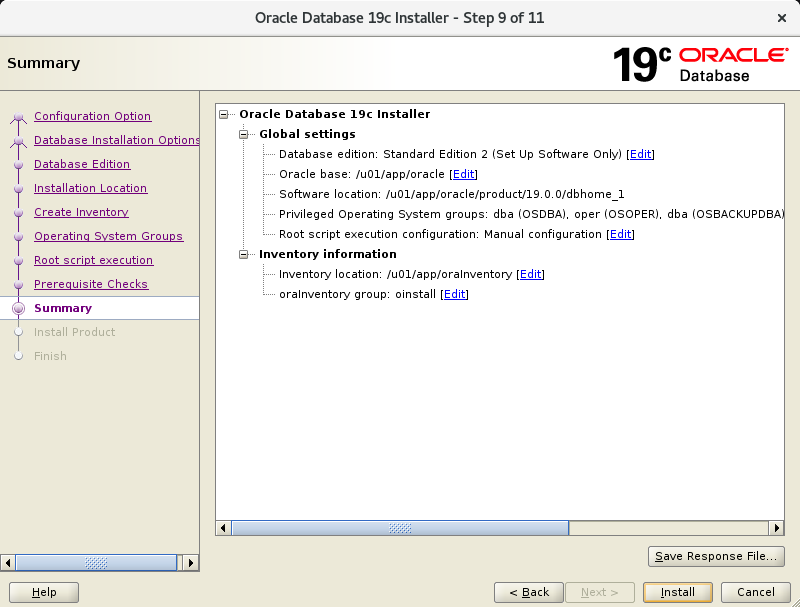
In the ningth screen, press Install.
In the tenth screen, you will be prompted to run some scripts as root.
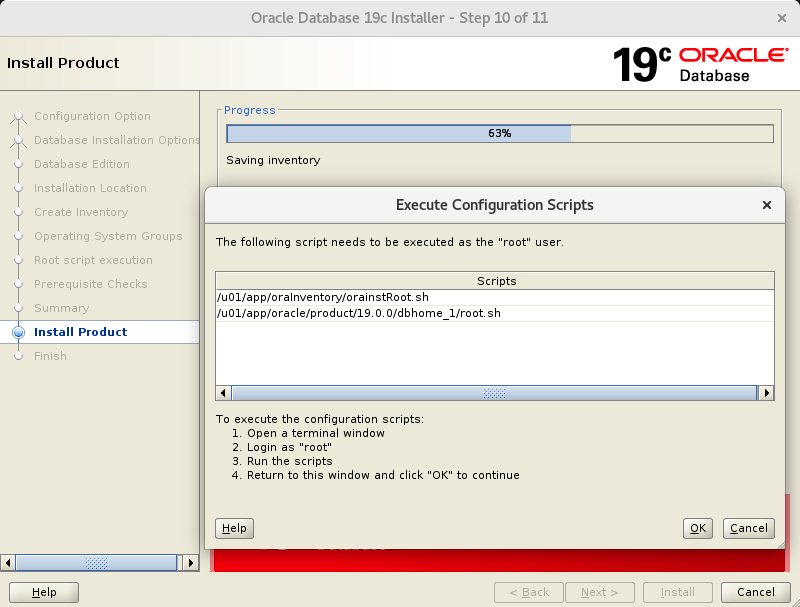
Login as root and execute the code below:
cd /u01/app/oraInventory
./orainstRoot.sh
cd /u01/app/oracle/product/19.0.0/dbhome_1
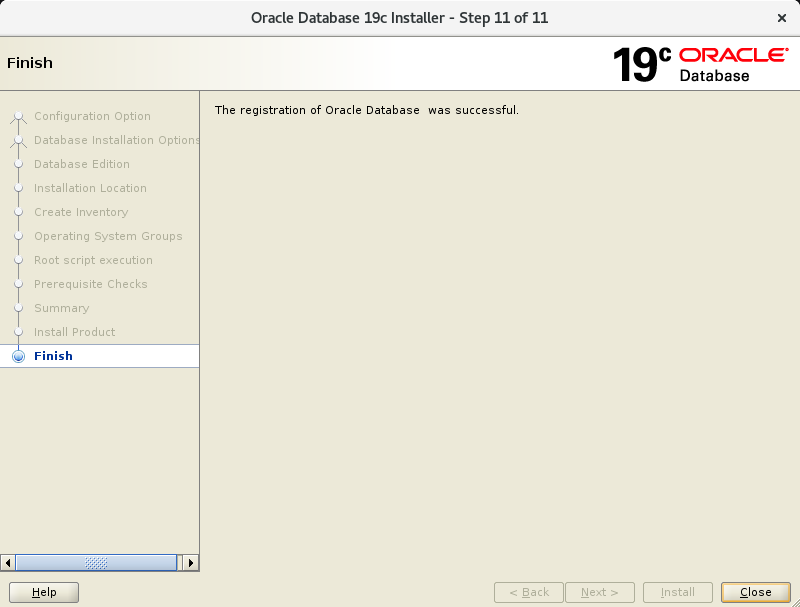
./root.shAnd the installation is done!
Now we can start the listener (and check it’s status):
lsnrctl start
lsnrctl status
We don’t have a database yet. We will create it with dbca (also from the graphical interface).
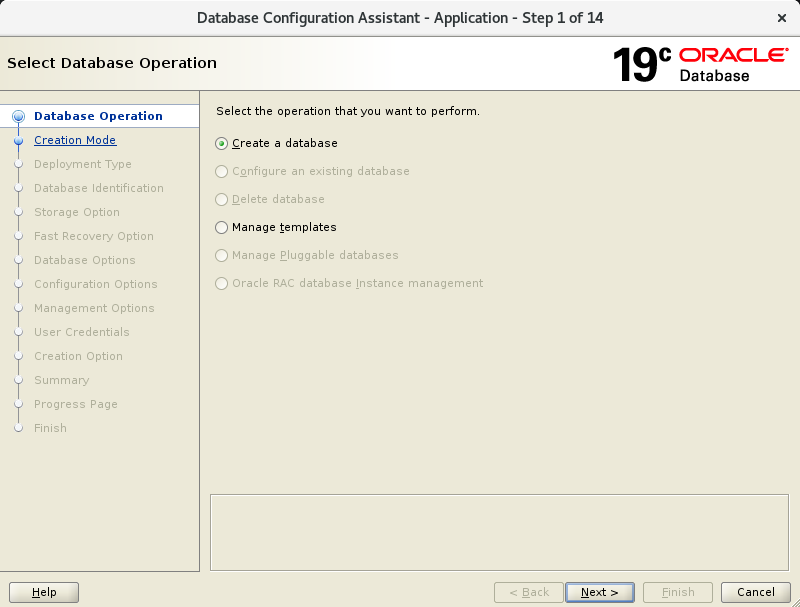
dbcaIn the first screen, select “Create a database”
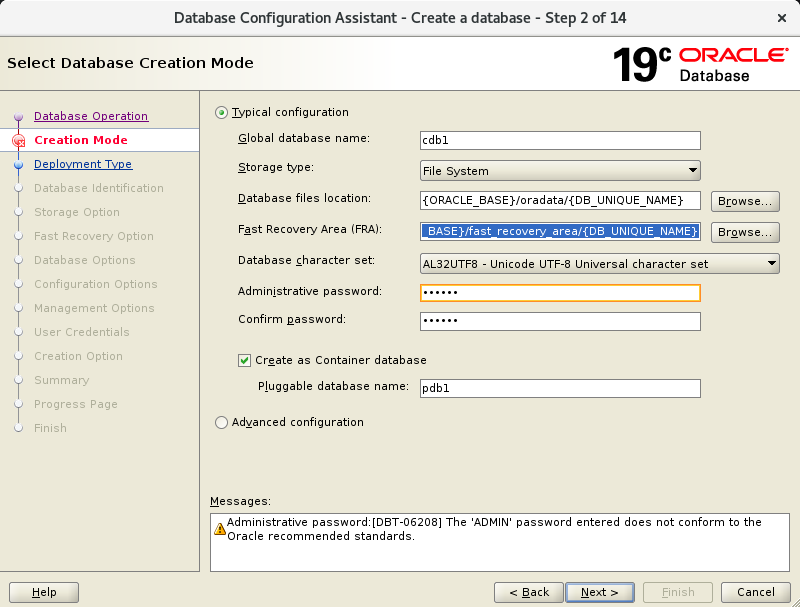
In the second screen, set:
Global database name: cdb1
Pluggable database name: pdb1
In the third screen, press Finish.
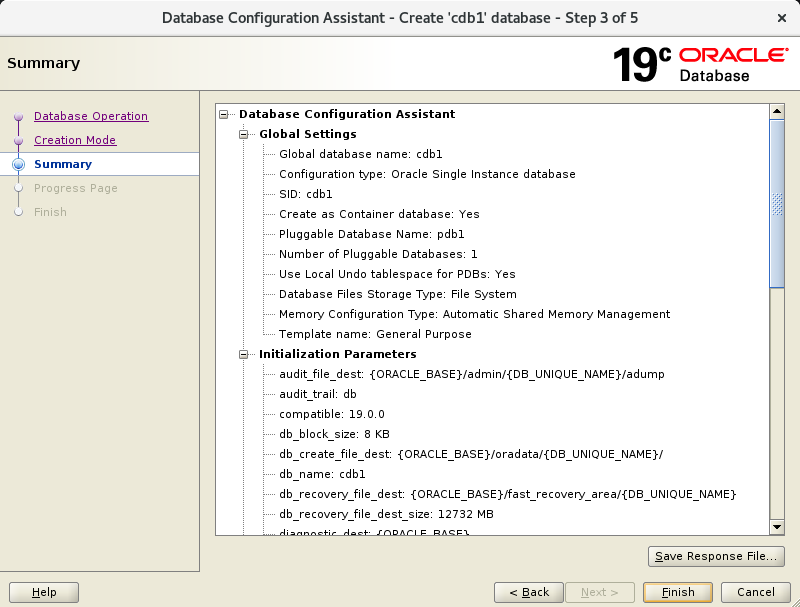
In the fourth screen, nothing to do, it coul dbe time for a coffee break.

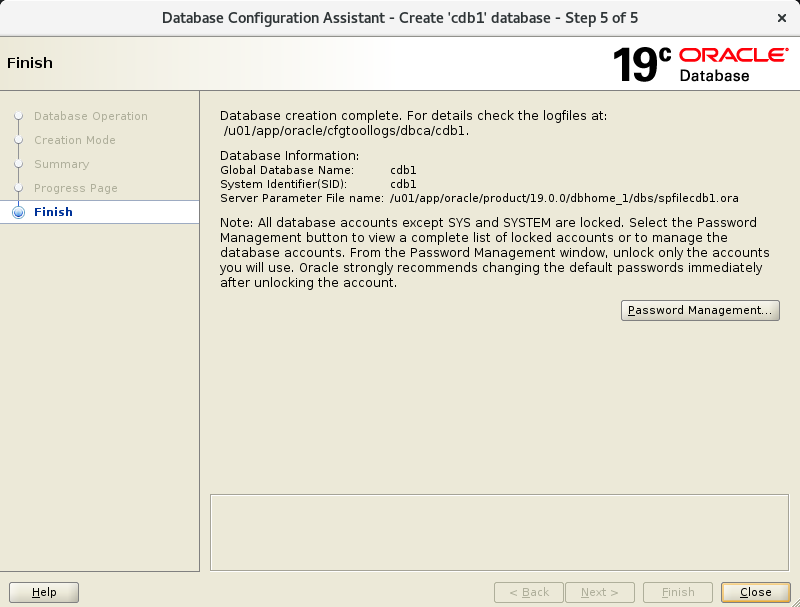
And the database is created:
8. Configure the database to start on restart
Edit /etc/oratab to set the restart to Y.
sudo vi /etc/oratabAnd change the N at the end of the line to Y.
cdb1:/u01/app/oracle/product/19.0.0/dbhome_1:YNow let’s make the pluggable database start when the instance starts:
sqlplus / as sysdba <<EOF
alter system set db_create_file_dest='${DATA_DIR}';
alter pluggable database ${PDB_NAME} save state;
exit;
EOF
9. Create a service to start the database server on boot
Let’s create the service file:
sudo vi /etc/systemd/system/oracle-db.serviceAnd here is the content for it:
[Unit]
Description=A service to start the Oracle database and listener automatically
After=syslog.target network.target

[Service]
LimitNOFILE=1024:65536
LimitNPROC=2047:16384
LimitSTACK=10485760:33554432
LimitMEMLOCK=infinity

Type=forking

User=oracle
Group=oinstall

ExecStart=/home/oracle/scripts/start_all.sh
ExecStop=/home/oracle/scripts/stop_all.sh

RemainAfterExit=True
Restart=no

[Install]
WantedBy=multi-user.target
And now set its permissions and enable it:
sudo chmod 664 /etc/systemd/system/oracle-db.service
sudo systemctl enable oracle-db.service
sudo systemctl daemon-reload
10. Create tnsnames.ora, listener.ora and a user
Before doing this you might want to backup the original files (if they exist).
These files should be in $ORACLE_HOME/network/admin/.
If you are not performing the commands below as oracle you will also need to set permissions to the files to oracle:oinstall.
export ORACLE_HOME=$ORACLE_BASE/product/19.0.0/dbhome_1
cd $ORACLE_HOME/network/admin/
Let’s start with tnsnames.ora:
vi tnsnames.oraA basic content should be:
cdb1 =
  (DESCRIPTION =
    (ADDRESS_LIST =
      (ADDRESS = (PROTOCOL = TCP)(HOST = amadeus.localdomain)(PORT = 1521))
    )
    (CONNECT_DATA =
      (SID = cdb1)
      (SERVICE_NAME = pdb1)
    )
  )
Now let’s edit listener.ora
vi listener.ora
A basic content should be:
LISTENER =
  (DESCRIPTION =
    (ADDRESS = (PROTOCOL = TCP)(HOST = amadeus.localdomain)(PORT = 1521))
  )

ADR_BASE_LISTENER = /u01/app/oracle
USE_SID_AS_SERVICE_LISTENER = ON
Let’s reload the listener (and check its status).
lsnrctl reload
lsnrctl status
Now let’s create the first schema and assign it lots of privileges for testing purposes on our testing environment:
sqlplus system/pdb1 as sysdba

SQL> alter session set container=pdb1;
Session altered.

SQL> create user amadeus identified by my-password;
User created.

SQL> grant all privileges to amadeus;
Grant succeeded.
11. Test connecting with SQL Developer from Windows
To test connecting to this server from SQL Developer installed on a Windows machine you can edit the hosts file in C:\Windows\System32\drivers\etc and enter the IP of your machine (mine is 192.168.56.230)
192.168.56.230     amadeus
192.168.56.230     amadeus.localdomain
And now let’s create a connection in SQL Developer
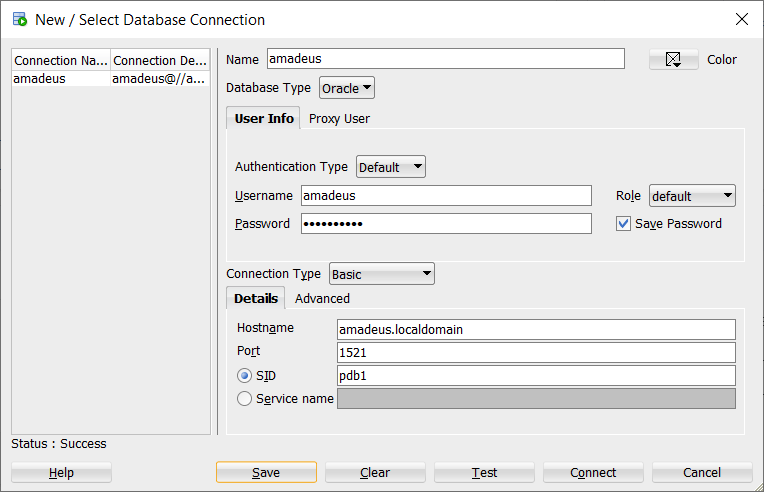
That’s it! Enjoy testing the best database in the world on your Linux.