In this tutorial you will learn how to install VirtualBox on Windows and how to use it to install a Linux server as a guest virtual machine on your Windows machine. We will also look at how to setup networking so the guest system has Internet access and the host has access to the guest.
What is VirtualBox?
Oracle VM VirtualBox is a free and open-source hosted hypervisor for x86 virtualization, developed by Oracle Corporation (originally created by Innotek which was acquired by Sun Microsystems, which was in turn acquired by Oracle.
You can use VirtualBox to create several virtual machines (guests) on the same host.
This virtualization software works very well, it is fast and is regularly updated. So let’s test it…
How to install VirtualBox on Windows?
This could not be easier. Download it and install it 🙂
You will find the installer here: www.virtualbox.org (yes, right on the homepage).
How to install a linux virtual machine with VirtualBox?
Here are the step-by-step instructions to install linux as a VirtualBox vm:
Prerequisite
Download a Linux image from your favorite distro’s website:
Ubuntu: https://ubuntu.com/download/server
Rocky Linux: https://rockylinux.org/download/
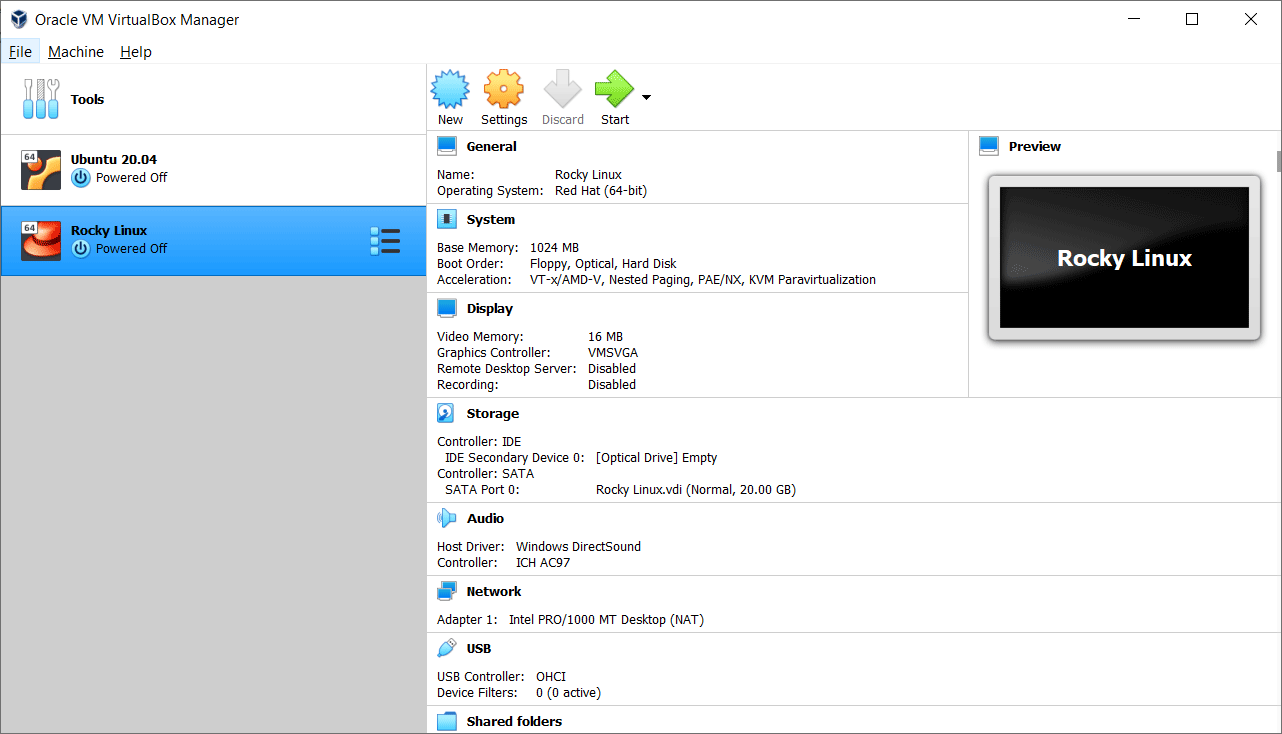
1. Open VirtualBox and create the Virtual Machine
Press the New button or Ctrl+N. This will display some screens where you configure the resources you want to allocate to your new Linux virtual machine.
2. Set the name and the directory for your guest
Fill in the name you want for your new virtual machine and the directory where you want the files to be stored. Set the type to Linux and choose the version. Since for this test we will install Rocky Linux, I chose Red Hat (64-bit). For Ubuntu, choose Ubuntu 🙂
VirtualBox will put the files in [Machine Folder]/[Name] so your directory structure might look nicer with:
Folder: Rocky Linux 3
Machine Name: \path\to\my\VirtualBox-machines

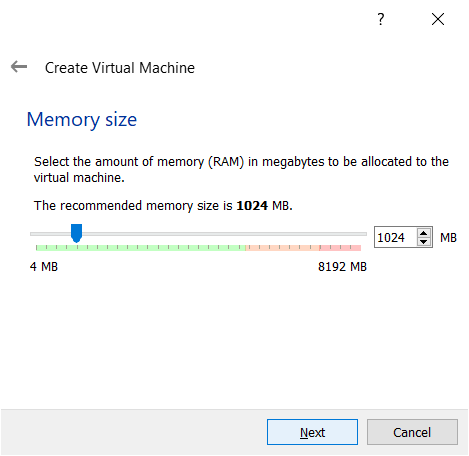
3. Choose the memory size
For testing purposes, we will use the recommended 1GB. If you are installing the virtual machine to test a LAMP server you can start with that. This is also usually the minimal offering from most VPS cloud hosting providers so you might want to test how 1GB works.
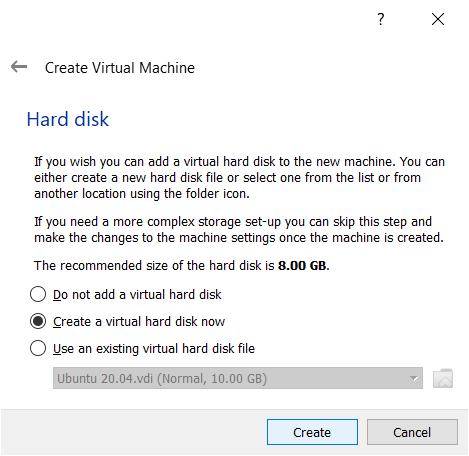
4. (Prepare to) Create the hard disk
The program will show you a recommended size which you cannot change in this screen but you will be able to change it in a minute. Just press “create” at this time 🙂
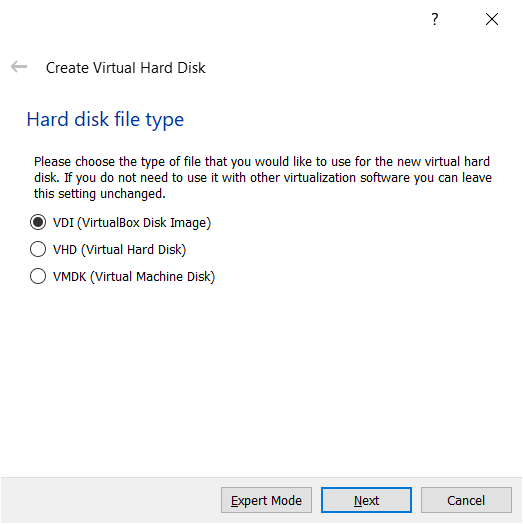
5. Choose hard disk type
I went for VirtualBox Disk Image. Any option will be fine.
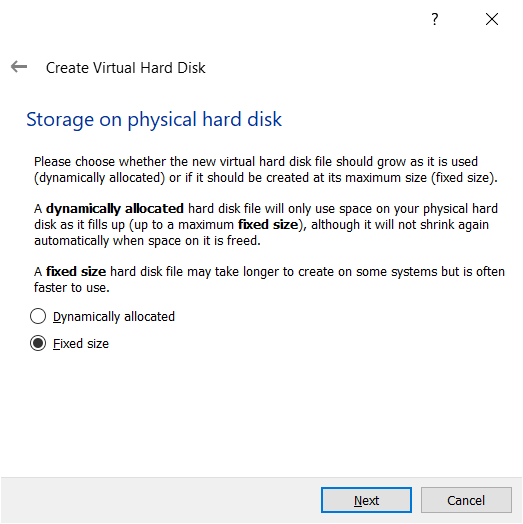
6. Choose how storage space is allocated
There are two options: dynamically allocated and fixed size. Choosing a fixed size should be faster (but you might wait a little bit more when creating the hard disk).
7. Choose hard disc size and location
Here is where you can change the size of the virtual machine’s hard disc.
I changed it from the default 8GB to 20GB.

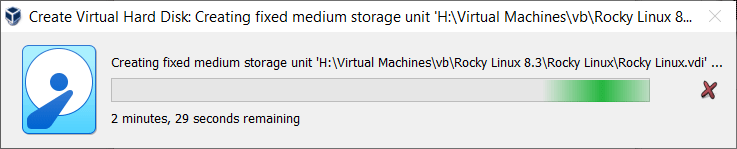
8. Create the hard disc / short coffee time 🙂
9. Install the Linux image
The system is now ready for you to install a Linux image. Press Start to begin.
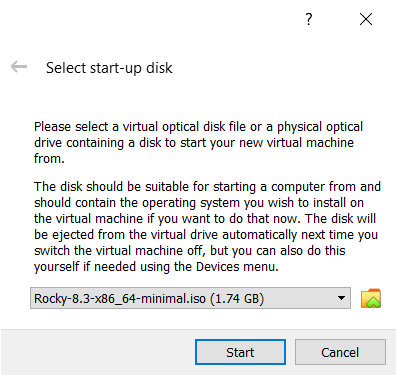
10. Select Image
Choose the Linux image you downloaded (if you did not download any image already, please find Ubuntu and Rocky Linux links in the Prerequisite section).
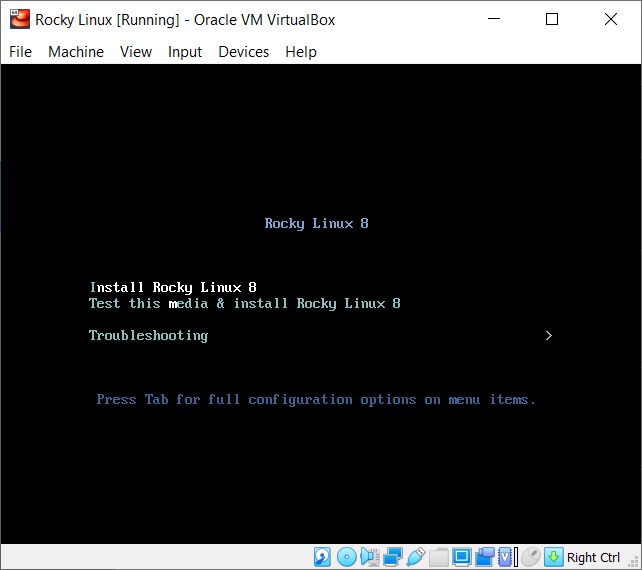
11. Install the new guest system
Now you should have your guest system being installed in a window on your Windows host. Just follow the instructions to finalize installation.
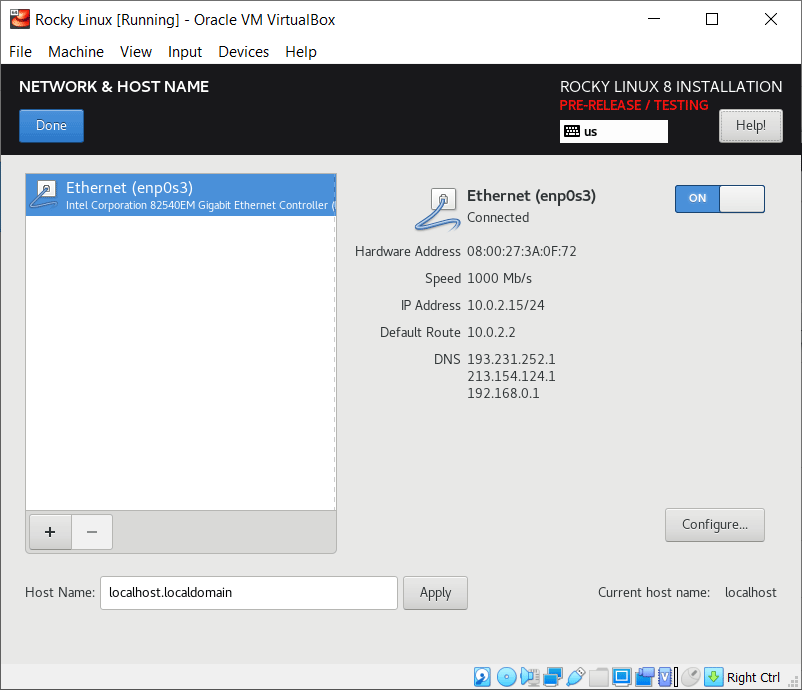
12. Enable NAT networking
I would recommend enabling networking from the beginning. The NAT network adapter will give the guest Internet access. After the guest system is installed we will also add another network to give the host access to the guest.
13. Reboot the virtual machine
That’s it. You have a Linux guest running on VirtualBox. Reboot the system to start using it.
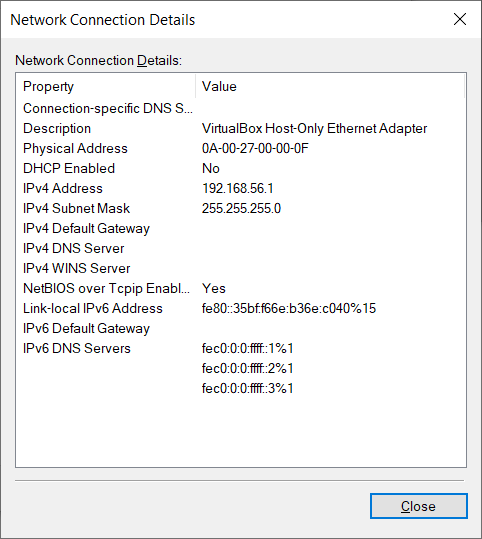
14. Check the Host-only network on the host (Windows)
On your Windows system, go to Settings > Network & Internet > Change adapter options
Open the adapter which has type: VirtualBox Host-Only Ethernet Adapter
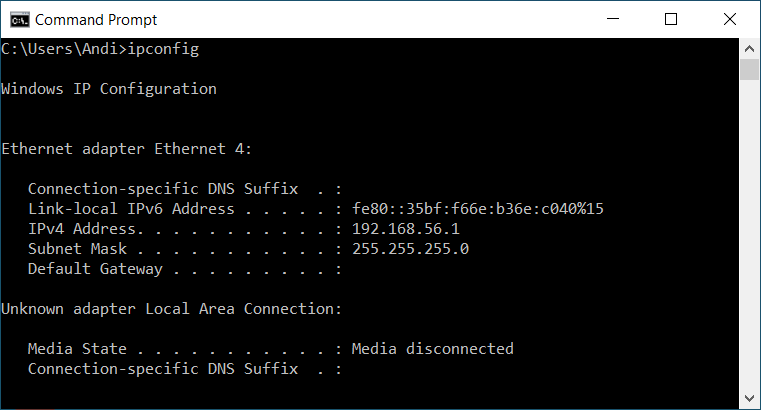
Go to Details and check the IP (it will be something like 192.168.56.1)
You can get the same information from ipconfig (but if you have lots of network adapters it might be easier this way)
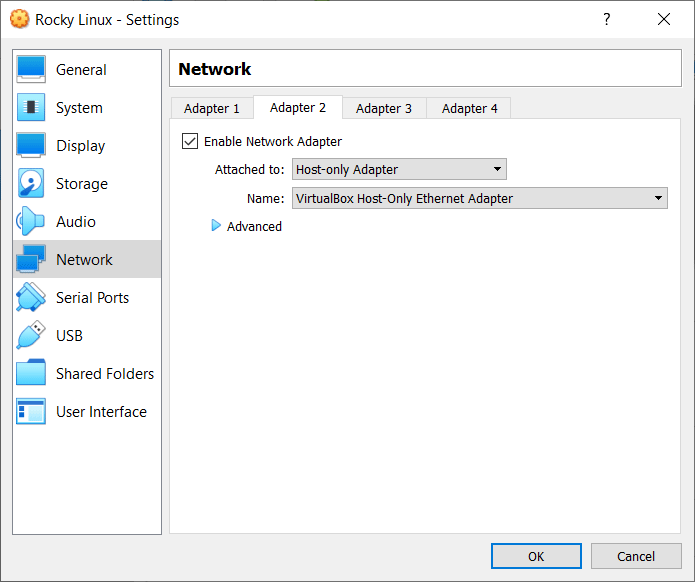
15. Add the Host-only adapter on the guest (Linux)
From VirtualBox, turn off your virtual machine and go to Setting > Network to add Adapter 2 set as Host-only Adapter.
Here is how your Adapter 1 and Adapter 2 should look:

16. Turn on your Linux guest
From VirtualBox, select the newly installed Rocky Linux and press Start.
If an error occurs, just restart Windows and retry 🙂
17. Configure the Host-only adapter on the guest
You enabled the second adapter which will allow you host to connect to the guest but it’s not configured yet
Use ifconfig to find the adapter’s name and then to set it up.
ifconfigIn my case, the Host-only adapter is enp0s8.
At Step 14, I found the host (Windows) IP is: 192.168.56.1 so I will give the guest an IP like 192.168.56.x.
ifconfig enp0s8 192.168.56.57 netmask 255.255.255.0 (in case ifconfig was not already installed, you will need to install it)
18. Test connection
Use PuTTY to login from your host to the new guest and verify everything works.
19. Create a script to have the network setup on reboot
You don’t want to enter commands from the VirtualBox screen after you reboot to re-configure your network. You need the above setting to be saved or run automatically.
Since CentOs / Rocky Linux and Ubuntu have different ways to setup networking, I will show a script that runs the ifconfig command on boot which is the same regardless of your Linux distribution. You can also use this for other scripts that you want to be executed at startup.
First, let’s create a service that will run at startup. The service’s only purpose is to execute a bash script: /usr/local/bin/bootScripts.sh
sudo vi /etc/systemd/system/bootScripts.servicePlace this code in the file:
[Unit]
Description=Load some scripts on restart

[Service]
Type=idle
ExecStart=/usr/local/bin/bootScripts.sh

[Install]
WantedBy=default.target
And now let’s create the bash script:
sudo vi /usr/local/bin/bootScripts.shAnd here we will put the ifconfig command we need to setup the network automatically. You can, of course, add other commands/scripts here:
#!/bin/bash
ifconfig enp0s8 192.168.56.57 netmask 255.255.255.0
Finally, let’s give the right permissions to our script and enable our service:
sudo chmod 744 /usr/local/bin/bootScripts.sh
sudo chmod 664 /etc/systemd/system/bootScripts.service
sudo systemctl enable bootScripts.service
sudo systemctl daemon-reload
That’s it!